Table of Contents
ToggleIntroduction
In the world of vaping, convenience and ease of use are paramount. Vuse, a well-known name in the vaping industry, offers a range of electronic cigarettes and vaping devices that are not only user-friendly but also highly efficient. One common concern among Vuse users is how to charge their vape pens or e-cigarettes. This article aims to provide a step-by-step guide on how to charge a Vuse vape, ensuring that your device is always ready for an enjoyable vaping experience.
Understanding Your Vuse Vape
Before we dive into the charging process, it’s essential to have a basic understanding of your Vuse vape. These devices typically come in two variations:
1. Vuse Solo
The Vuse Solo is a compact and disposable e-cigarette. It comes with a pre-charged battery and is ready to use right out of the box.
2. Vuse Vibe
The Vuse Vibe is a rechargeable vaping device. It has a replaceable cartridge and a rechargeable battery.
Charging Your Vuse Vape
Now, let’s explore the steps to charge your Vuse Vibe, as this model requires regular charging:

1. Gather Your Equipment
You will need the following:
- Your Vuse Vibe
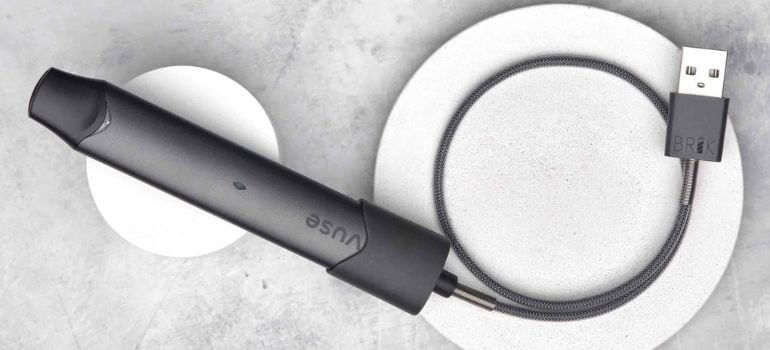
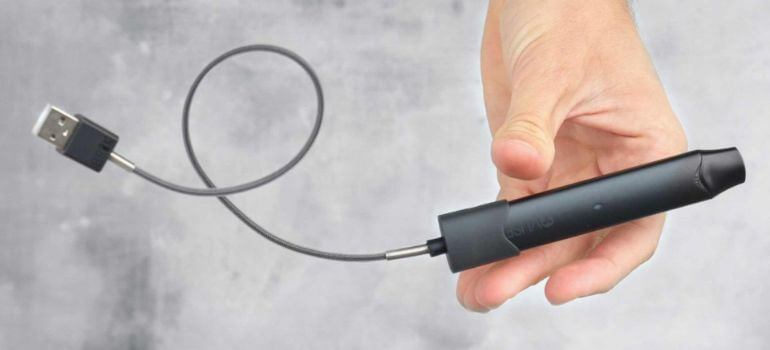
- A Vuse USB charger
- A power source (such as a laptop, wall adapter, or power bank)
2. Prepare the Charger
Insert the USB charger into the power source. This could be a USB port on your laptop, a wall adapter, or a portable power bank. Ensure that the charger is properly connected and functioning.
3. Disconnect the Vibe Tank
Remove the Vuse Vibe tank from the battery. This is done by unscrewing the tank from the battery unit.
4. Connect the Charger
Attach the USB charger to the battery. You should see the light on the charger turn on, indicating that it’s properly connected.
5. Charge the Battery
Allow the Vuse Vibe battery to charge. You will know it’s fully charged when the light on the charger turns green or the LED on the battery unit stops flashing.
6. Reassemble and Vape
Once your Vuse Vibe is fully charged, reattach the tank to the battery unit. Your device is now ready for use.
Tips and Tricks
Here are some additional tips to ensure the best charging experience and overall device performance:
– Regular Cleaning
Clean the connectors of the battery and the tank to maintain a strong connection.
– Avoid Overcharging
Don’t leave your Vuse Vibe connected to the charger for extended periods. Once it’s fully charged, disconnect it to avoid overcharging, which can reduce the battery’s lifespan.
– Store Safely
When not in use, store your Vuse Vibe in a cool, dry place, away from direct sunlight or extreme temperatures.
Conclusion
Charging your Vuse vape is a straightforward process that ensures your device is always ready for an exceptional vaping experience. By understanding your device and following the steps outlined in this guide, you can keep your Vuse Vibe charged and ready to enjoy your favorite e-liquids.
FAQs
1. How long does it take to charge a Vuse Vibe?
The time it takes to charge a Vuse Vibe depends on the battery’s current level, but it typically takes around 1-2 hours for a full charge.
2. Can I use my Vuse Vibe while it’s charging?
It’s not recommended to use your Vuse Vibe while it’s charging. Let it charge fully before vaping.
3. What should I do if my Vuse Vibe isn’t charging?
If you’re experiencing issues with charging, first ensure that the connections are clean and secure. If the problem persists, contact Vuse customer support for assistance.
4. Is it safe to leave my Vuse Vibe connected to the charger overnight?
It’s best to avoid leaving your Vuse Vibe connected to the charger overnight to prevent overcharging and extend the battery’s lifespan.
5. Can I use a different charger for my Vuse Vibe?
It’s recommended to use the official Vuse USB charger that comes with your device. Using a different charger may not provide the correct voltage and could potentially damage your Vuse Vibe.

