When you’re enjoying your vaping experience and suddenly see a “No atomizer” or “Check atomizer” message on your Smok vape, it can be quite frustrating. This error indicates that your device is unable to detect your tank or coil, disrupting your vaping session. But don’t worry, we’re here to help you fix this issue and get back to enjoying your favorite vape flavors.
In this troubleshooting guide, we’ll explore the common causes of the “No atomizer” error on your Smok vape and provide step-by-step instructions to resolve it. Whether it’s a problem with the tank, coil, or mod itself, we’ve got you covered. Let’s dive in and get your vape working perfectly again!
Table of Contents
Toggle- Understanding the “No Atomizer” Error
- Troubleshooting Steps for Tank Issues
- Troubleshooting Steps for RDA/RBA Issues
- Troubleshooting Steps for Mod Issues
- Additional Tips and Considerations
- Conclusion
- FAQ
- What does “No atomizer” mean on a Smok vape?
- What are the common causes of the “No atomizer” error on Smok vapes?
- How can I troubleshoot tank issues causing the “No atomizer” error on my Smok vape?
- What troubleshooting steps can I take for RDA/RBA issues causing the “No atomizer” error?
- How can I troubleshoot mod issues causing the “No atomizer” error on my Smok vape?
- What are some additional tips and considerations for troubleshooting the “No atomizer” error on a Smok vape?
- How can I fix the “No atomizer” error on my Smok vape?
- Related posts:
Key Takeaways:
- Understanding the “No atomizer” error message on your Smok vape
- Troubleshooting steps for tank-related issues
- Troubleshooting steps for RDA/RBA-related issues
- Troubleshooting steps for mod-related issues
- Additional tips and considerations for preventing the “No atomizer” error
Understanding the “No Atomizer” Error
The “No atomizer” or “Check atomizer” error message on your Smok vape indicates that your device is unable to detect the presence of a tank, coil, or atomizer head. This can be caused by a variety of factors, including improper connections, dirty contacts, or faulty components. It is important to isolate the issue and identify whether it is related to the tank or atomizer, or if there is a problem with the mod itself.
To troubleshoot the “No atomizer” error, start by checking the tank connection. Ensure that the tank is securely attached to the mod and that the threads are aligned properly. Dirty contacts can also cause connection issues, so clean both the tank and mod contacts with a cotton swab lightly dampened with isopropyl alcohol. Be gentle when cleaning to avoid damaging the contacts.
If the tank connection is not the issue, then the problem may lie with the coil connection. Remove the tank from the mod and inspect the coil connection. Make sure that the coil is properly screwed into the base of the tank and that there are no gaps or loose connections. If necessary, try replacing the coil with a new one to see if that resolves the error.
If you have tried troubleshooting the tank and coil connections and the “No atomizer” error persists, it is possible that the issue is with the mod itself. In this case, it may be helpful to try using a different tank or mod to determine if the problem lies with the device. If the error occurs with multiple tanks or mods, there may be a fault with the mod that requires professional assistance or warranty coverage.
Remember, when troubleshooting the “No atomizer” error, always ensure that you are using compatible tanks and coils with your Smok vape. It is also important to follow proper installation techniques and check the resistance of your coils to avoid any potential issues. By identifying and addressing the root cause of the error, you can get your Smok vape back up and running smoothly.
If you’re still experiencing difficulties, continue reading our troubleshooting guide for more detailed solutions.
Troubleshooting Steps for Tank Issues
If you are experiencing a “No atomizer” error on your Smok vape and suspect that the issue lies with your tank, follow these troubleshooting steps to resolve the issue:
1. Check the Tank Connection
Ensure that your tank is securely attached to the mod. Sometimes, a loose connection can lead to the “No atomizer” error. Tighten the tank onto the mod to ensure a proper connection.
2. Clean the Tank Contacts
Dirty or corroded contacts can interfere with the connection between the tank and the mod. Use a clean cloth or cotton swab to gently wipe the contacts on both the tank and the mod. This will help ensure a clean and secure connection.
3. Check the Coil Connection
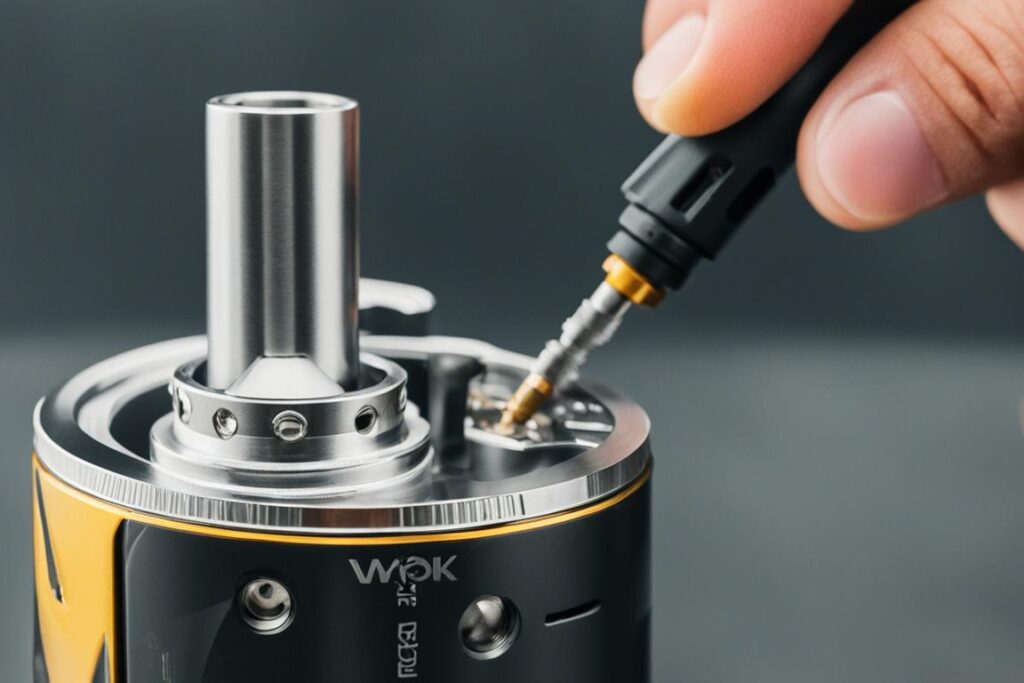
If cleaning the tank contacts doesn’t resolve the issue, the problem may be with the coil connection. Remove the tank from the mod and carefully remove the atomizer head. Inspect the bottom of the atomizer head and the connection on the tank for any dirt or debris. Clean them if necessary and reattach the atomizer head securely.
4. Replace the Coil
If the issue persists after cleaning and reattaching the atomizer head, the coil may be faulty. Replace the coil with a new one to see if that resolves the “No atomizer” error. Make sure to choose a coil that is compatible with your tank and mod.
5. Check for a Recessed 510 Connector
Sometimes, a recessed 510 connector on the tank can prevent a proper connection with the mod. Inspect the 510 connector on your tank and make sure it is not recessed. If it is, you may need to gently pull up the connector using a small tool to ensure a secure connection with the mod.
By following these troubleshooting steps, you can address common tank-related issues that lead to the “No atomizer” error on your Smok vape. If the problem persists, you may need to consult a professional or reach out to the manufacturer for further assistance.
| Troubleshooting Steps for Tank Issues |
|---|
| 1. Check the Tank Connection |
| 2. Clean the Tank Contacts |
| 3. Check the Coil Connection |
| 4. Replace the Coil |
| 5. Check for a Recessed 510 Connector |

Troubleshooting Steps for RDA/RBA Issues
If you are using a rebuildable atomizer (RDA) or rebuildable tank atomizer (RTA), the troubleshooting steps may be slightly different. In addition to checking for proper connections and cleaning contacts, here are some specific actions you can take:
1. Checking Post Screws
Ensure that the post screws on your RDA or RTA are securely tightened. Loose screws can cause poor electrical connections and result in the “No atomizer” error. Use a screwdriver or Allen key (depending on the type of screws) to tighten them.
2. Insulating Coil
Make sure that the coil is properly insulated and not making contact with the outer chamber. If the coil is touching any metal parts, it can cause a short circuit and trigger the “No atomizer” error. Adjust the coil position if necessary.
3. Checking Wire Breaks
Inspect the wire for any breaks or damage that may be interrupting the flow of current. Even a small break can prevent the atomizer from functioning correctly. If you find any breaks, trim the wire and reposition it to ensure proper connectivity.
By following these troubleshooting steps, you can effectively address RDA/RBA issues and resolve the “No atomizer” error on your Smok vape.
| Steps | Description |
|---|---|
| 1 | Checking Post Screws |
| 2 | Insulating Coil |
| 3 | Checking Wire Breaks |
Troubleshooting Steps for Mod Issues
While rare, the “No atomizer” error can sometimes stem from an issue with the mod itself. In such cases, there are several troubleshooting steps you can take to resolve the problem.
- Clean the mod connection point: Start by cleaning the connection point on your mod using a cotton swab or a soft cloth. This will help remove any dirt, dust, or residue that may be obstructing the connection.
- Check for debris: Inspect the connection point for any debris or particles that may have accumulated. Use compressed air or a small brush to gently remove any obstructions.
- Try another tank or mod: If possible, try using another tank or mod to determine if the issue lies with the device itself. This can help isolate whether the problem is specific to the mod or if it is related to the tank or coil.
If none of these troubleshooting steps resolve the “No atomizer” error, it may be necessary to explore warranty coverage options or seek professional assistance.
| Troubleshooting Steps for Mod Issues | Summary |
|---|---|
| Clean the mod connection point | Remove dirt and residue that may be hindering the connection |
| Check for debris | Inspect and remove any obstructions in the connection point |
| Try another tank or mod | Determine if the issue is with the device itself |

Additional Tips and Considerations
If you’re troubleshooting the “No atomizer” error on your Smok vape, here are some additional tips and considerations to keep in mind:
Compatibility Issues
Ensure that your tank and mod are compatible. Different tanks and mods may have varying specifications, such as wattage ranges and coil compatibility. Always consult the user manual or product specifications to confirm compatibility before using your vape.
Base Plate Issues
Check that the base plate of your tank is making a proper connection with the 510 connector on your mod. Clean the connection points regularly to prevent any debris or dirt from interfering with the connection.
Coil Resistance
Always check the resistance of your coil and make sure it is within the recommended range for your device. Using a coil with resistance outside the recommended range can lead to errors, including the “No atomizer” message.
Proper Installation
Properly install your coil according to the manufacturer’s instructions. Ensure that the coil is securely in place and making proper contact with the atomizer head. Improper installation can cause connection issues and trigger the “No atomizer” error.
By considering these additional troubleshooting tips and ensuring compatibility, checking base plate connections, verifying coil resistance, and proper installation, you can effectively troubleshoot and resolve the “No atomizer” error on your Smok vape.
| Troubleshooting Tips | Considerations |
|---|---|
| Check compatibility | Ensure tank and mod are compatible |
| Inspect base plate | Verify proper connection with 510 connector |
| Check coil resistance | Ensure it is within recommended range |
| Follow proper installation | Securely install coil for correct contact |
Conclusion
Dealing with the dreaded “No atomizer” error on your Smok vape can be frustrating, but fear not! With the troubleshooting guide provided in this article, you’ll be equipped with the knowledge and steps necessary to fix the issue and get back to enjoying your vape experience.
Remember, the key to resolving the “No atomizer” error lies in checking your tank and mod connections. Ensure they are securely attached and free from debris or dirt. Additionally, cleaning the contacts can help establish a proper connection, minimizing the chances of the error occurring again.
Compatibility is also essential – make sure your tank and mod are compatible with each other. Proper installation of the coil and considering coil resistance within the recommended range are critical factors to prevent the error. And if despite all your efforts the problem persists, don’t hesitate to consult your warranty or seek professional assistance.
FAQ
What does “No atomizer” mean on a Smok vape?
When you see a “No atomizer” or “Check atomizer” message on your Smok vape, it means that your device does not detect your tank or coil.
What are the common causes of the “No atomizer” error on Smok vapes?
The “No atomizer” error can be caused by improper connections, dirty contacts, or faulty components.
How can I troubleshoot tank issues causing the “No atomizer” error on my Smok vape?
To troubleshoot tank issues, ensure that your tank is securely attached to the mod, clean the connections, and try removing and reattaching the atomizer head. If necessary, replace the coil or check for a recessed 510 connector on your tank.
What troubleshooting steps can I take for RDA/RBA issues causing the “No atomizer” error?
For RDA/RBA issues, check for proper connections, clean contacts, tighten post screws, and ensure the coil is not making contact with the outer chamber. Also, check for any breaks in the wire.
How can I troubleshoot mod issues causing the “No atomizer” error on my Smok vape?
To troubleshoot mod issues, clean the connection point on the mod, check for debris, and try using another tank or mod to determine if the problem lies with the device. Consider warranty coverage or seek professional assistance if needed.
What are some additional tips and considerations for troubleshooting the “No atomizer” error on a Smok vape?
Ensure compatibility between the tank and mod, check the base plate connection, verify coil resistance, and ensure proper installation of the coil.
How can I fix the “No atomizer” error on my Smok vape?
By following the troubleshooting steps provided in this guide, you can identify the cause of the error and take the necessary steps to fix it.

