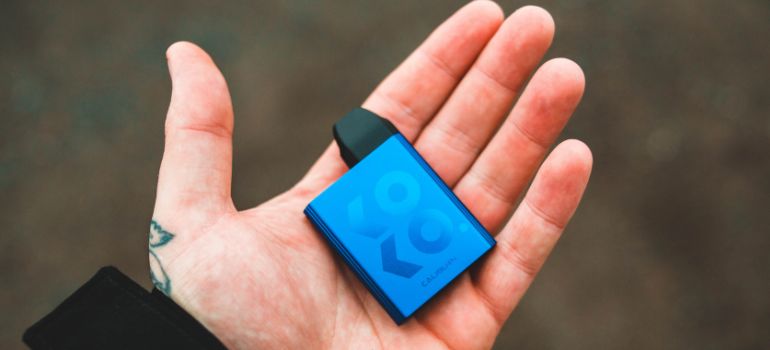
In recent years, vaping has become a popular alternative to traditional smoking, offering a wide range of flavors and experiences. To ensure uninterrupted enjoyment, knowing how to recharge your vape properly is essential. In this comprehensive guide, we will walk you through the step-by-step process of recharging your vape device and address frequently asked questions to enhance your vaping experience.
Table of Contents
ToggleUnderstanding Vape Batteries

Types of Vape Batteries
Vape devices generally use two types of batteries: built-in batteries and removable batteries. Built-in batteries are permanently installed in the vape device and are usually charged using a USB cable. On the other hand, removable batteries can be taken out of the device and charged externally using a dedicated battery charger.
When choosing a vape device, consider your preferences and lifestyle. Built-in batteries are more convenient, while removable batteries allow you to carry spares for extended use.
Charging Safety Tips
Safety is paramount when it comes to recharging your vape. Follow these tips to ensure a safe charging process:
- Use the Correct Charger: Always use the charger that came with your vape device or a recommended compatible charger. Using third-party chargers can lead to battery damage or even safety hazards.
- Avoid Extreme Temperatures: Charging your vape battery in extreme heat or cold can negatively impact its performance and lifespan. Opt for a moderate, room-temperature environment.
- Unplug After Charging: Once your vape is fully charged, unplug it immediately. Overcharging can strain the battery and reduce its longevity.
How to Recharge Your Vape
Preparing for Recharging
Before starting the recharging process, take the following steps:
- Check Battery Life: Assess your vape’s battery life to determine if it needs recharging. Many modern vapes have battery indicators that show the remaining charge.
- Inspect the Charger: Ensure the charger’s cable and connection are in good condition. Damaged cables can result in an unstable charging process.
Connecting the Vape to the Charger
- Step 1: Locate the charging port on your vape device. It is usually located at the bottom or side of the device.
- Step 2: Plug the USB cable into the charging port of your vape device.
- Step 3: Connect the other end of the USB cable to a power source, such as a wall adapter or a computer’s USB port.
Charging Time and Indicators
The charging time varies depending on the battery capacity and charger type. Most vapes have LED indicators that show the charging progress. A fully charged vape typically takes one to three hours, but it’s essential to refer to the user manual for precise information.
Common Mistakes to Avoid
Overcharging the Battery
Leaving your vape plugged in for an extended period, even after it’s fully charged, can lead to overcharging. Overcharging damages the battery and shortens its lifespan. Always unplug your vape once it’s fully charged.
Using Incompatible Chargers
Using a charger that is not designed for your vape device can be dangerous. Incompatible chargers can overcharge or overheat the battery, leading to potential safety hazards. Stick to the charger provided by the manufacturer.
Maintaining Vape Battery Longevity
Proper Storage of Batteries
When not using your vape regularly, it’s essential to store it properly to maintain battery health. Follow these storage tips:
- Discharge Partially: If you plan to store your vape for an extended period, discharge the battery partially before storage.
- Store in a Cool Place: Avoid storing your vape in direct sunlight or extreme temperatures.
Cleaning and Maintenance Tips
Regular cleaning and maintenance can prolong the life of your vape battery. Clean the charging port and battery terminals with a cotton swab and rubbing alcohol. Additionally, check for any visible damage and replace parts as needed.
Troubleshooting
Vape Not Charging Properly
If your vape is not charging correctly, try the following troubleshooting steps:
- Check the Connections: Ensure that the USB cable and charging port are clean and free from debris.
- Restart the Device: Sometimes, a simple restart can resolve charging issues.
Blinking Light Issues
A blinking light on your vape may indicate various issues, such as low battery, overcharging, or a faulty connection. Refer to your user manual for specific troubleshooting tips.
Conclusion
Knowing how to recharge your vape correctly is essential for a seamless vaping experience and ensuring the longevity of your device’s battery. By following the safety tips and proper charging procedures outlined in this guide, you can enjoy your vaping journey to the fullest. Remember to use the appropriate charger, avoid overcharging, and implement maintenance practices to keep your vape in optimal condition.
FAQs: Frequently Asked Questions
What type of charger should I use for my vape?
It is best to use the charger provided by the manufacturer or a recommended compatible charger. Third-party chargers may not be suitable and can lead to battery issues.
How do I know when my vape is fully charged?
Most vapes have LED indicators that change color or turn off when the device is fully charged.
Is it okay to leave my vape charging overnight?
No, it is not recommended to leave your vape charging overnight as overcharging can damage the battery.
Can I use my vape while it’s charging?
Using your vape while it’s charging is not recommended. It’s safer to wait for it to charge fully before use.
How often should I recharge my vape battery?
The frequency of recharging depends on your usage. If you are a heavy vaper, you may need to recharge more often. Monitor your battery life and charge as needed.

